How to Steam and Texture Milk Perfectly
Getting great latte art is really only half about the pour. The other half — arguably the more important half — happens before you even pick up the pitcher. It happens during steaming. If your milk isn’t properly textured, even the most practised wrist movement won’t produce a clean heart or a layered rosetta. So let’s get your milk right.
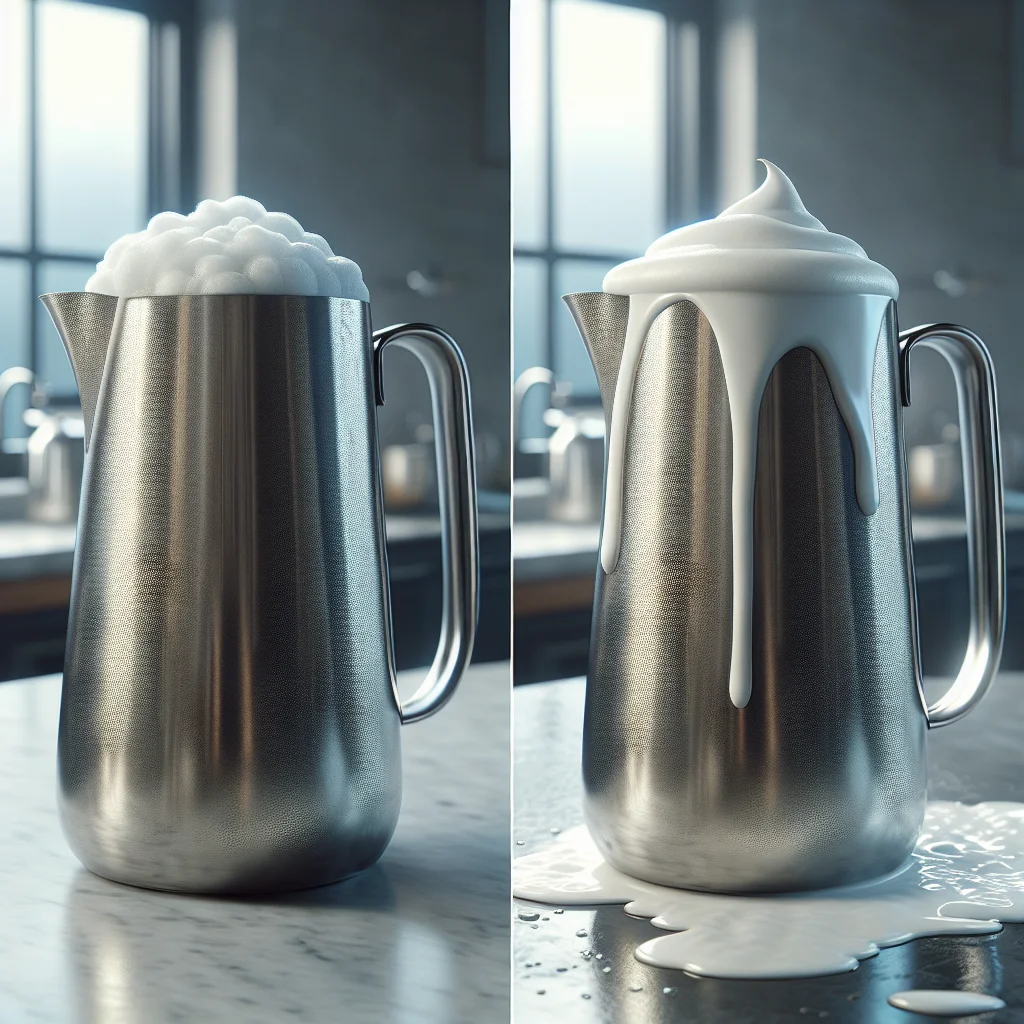
What You’re Aiming For: Microfoam
You’ve probably heard the word “microfoam” tossed around, and it’s worth understanding exactly what it means. Microfoam is steamed milk in which the bubbles are so tiny and so uniformly distributed that you can’t see individual bubbles at all. The surface looks like wet white paint — glossy, smooth, and slightly thick. Tap the pitcher on the counter after steaming and swirl it; the milk should move like melted ice cream, not like a bubbly milkshake.
Here’s the thing: big, visible bubbles are the enemy of latte art. They break up your lines, make your pours blobby, and disappear fast in the cup. Microfoam, on the other hand, sits on top of espresso in a stable, pourable layer that holds its shape. That’s exactly what you need.
The Two Phases of Steaming
Think of milk steaming as a two-act play. Each act has a distinct job, and mixing them up is where most beginners go wrong.
Phase 1: Stretching (Introducing Air)
This is the noisy part. With the steam tip positioned just below the surface of the milk, you’ll hear a gentle “tss-tss-tss” sound — like paper tearing slowly. That sound means you’re pulling tiny sips of air into the milk. This is what creates foam.
Key tips for stretching:
- Start with cold milk. Cold milk gives you more time before it overheats, which means more control. Pour it straight from the fridge.
- Keep the tip shallow — just barely below the surface. Too deep and you won’t introduce any air. Too high and you’ll blow big, ugly bubbles.
- Angle the pitcher slightly so the steam creates a gentle whirlpool. This spinning motion helps incorporate the air evenly.
- Stop stretching once the milk has increased in volume by roughly a third. For latte art, you want a moderate amount of foam — not a cappuccino-level mountain of froth.
Most of your stretching should happen in the first few seconds, while the milk is still cold. Once it starts warming past body temperature (around 37 °C / 100 °F), you’re done adding air.
Phase 2: Texturing (Polishing the Foam)
Now, submerge the steam tip a little deeper — about a centimetre below the surface — and let that whirlpool do its work. The spinning motion breaks down any remaining larger bubbles and folds the foam into the liquid milk, creating one unified, silky texture.
Keep heating until the outside of the pitcher feels hot but not unbearable to touch — roughly 60–65 °C (140–150 °F). If you have a thermometer clipped to the pitcher, great. If not, the “hand test” works surprisingly well: when you can hold the pitcher for only about two seconds before pulling away, you’re there. Go past 70 °C and you’ll scald the milk, which tastes flat and won’t texture well.
After Steaming: The Swirl and Tap
Once you turn off the steam, give the pitcher a firm tap on the counter to pop any stray surface bubbles, then swirl it vigorously — like swirling wine in a glass. You want the milk and foam to become one homogeneous liquid. If it looks separated, with a cap of foam sitting on top of watery milk, you likely didn’t texture long enough or your whirlpool wasn’t strong enough.
Pour promptly. Microfoam starts to separate within about 30 seconds, so have your espresso pulled and ready before you begin steaming.
Bringing It All Together
Steaming milk well is a skill that improves dramatically with repetition. If you’re just starting out, try practising with water and a drop of dish soap — it mimics milk’s behaviour and saves you from wasting litres while you learn. Once you’ve got that down, move on to real milk and you’ll be amazed at how quickly the muscle memory kicks in.
For guidance on picking a pitcher that makes steaming easier, head over to the Milk Pitchers, Cups, and Accessories Guide. If you want to explore how different milks — oat, whole, skim — behave under steam, check out Choosing the Best Milk for Latte Art. And when your microfoam is consistently silky, it’s time to start pouring: the Latte Art Patterns tutorials will walk you through hearts, rosettas, and tulips step by step.