Frequently Asked Questions
Whether you’ve just pulled your first espresso shot or you’ve been pouring wobbly hearts for a few weeks, chances are you’ve hit a question or two that made you set down your pitcher and wonder. That’s completely normal. Here are the answers to the questions home latte art enthusiasts ask most often.
Equipment & Setup
Do I need an expensive espresso machine to do latte art?
Not at all. What you do need is a machine with a steam wand capable of producing consistent pressure. Many home machines in the entry-level and mid-range categories can get the job done — the key is learning how to work with the steam wand you have. If you’re curious about which machines handle milk steaming well, our home espresso machine comparison chart breaks things down by price point.
What size milk pitcher should I use?
For a single latte (roughly 150–180 ml of steamed milk), a 350 ml (12 oz) pitcher is the sweet spot. It gives you enough room to create a proper whirlpool while texturing without milk sloshing over the sides. A 600 ml (20 oz) pitcher works better if you’re steaming for two drinks at once. You can read more about pitcher shapes and spout styles in the pitchers and accessories guide.
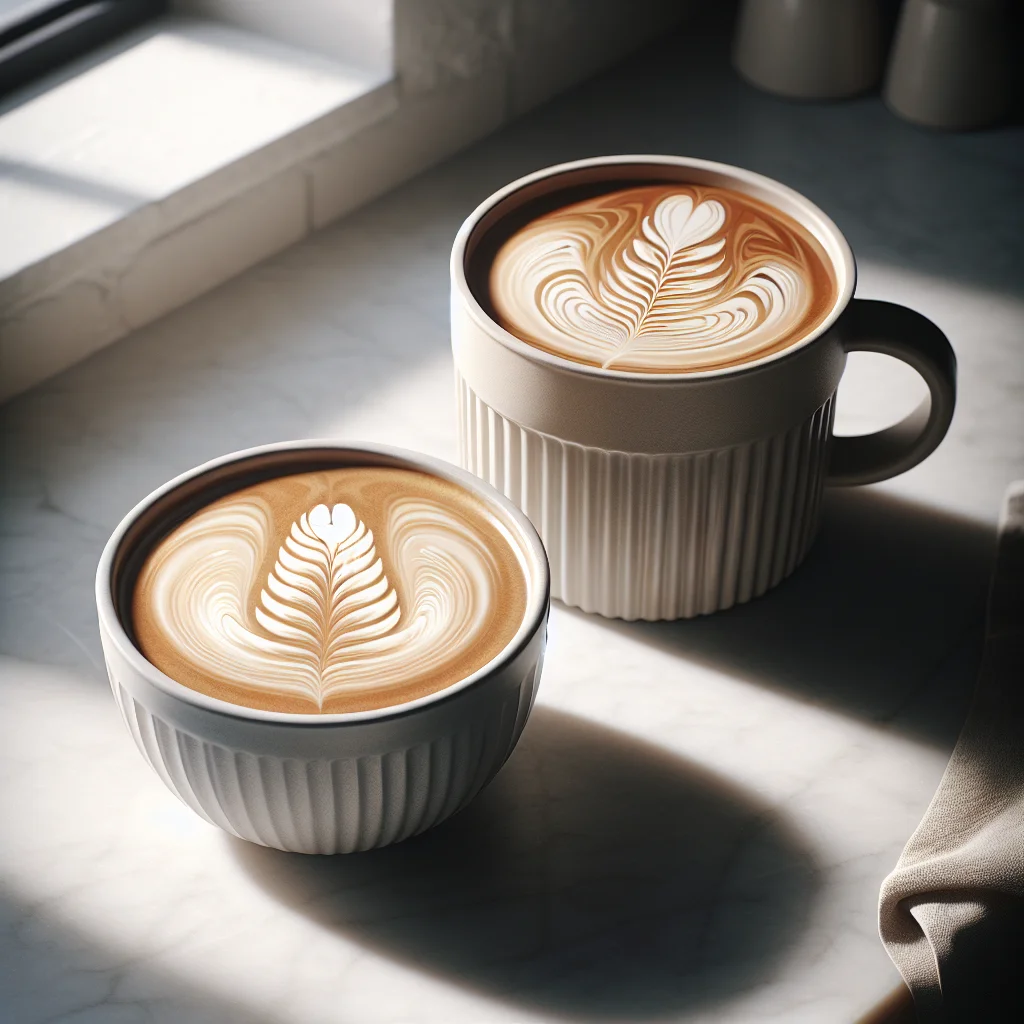
Does cup shape actually matter?
Here’s the thing — it matters more than most people expect. A wide, rounded bowl gives your milk a bigger canvas to spread across, which makes patterns easier to control. Tall, narrow mugs fight you at every step. Think of pouring into a wide cup like painting on a dinner plate versus the back of a spoon.
Milk Questions
Can I make latte art with non-dairy milk?
Absolutely, though the learning curve shifts a little. Oat milk — particularly barista-edition varieties from brands like Oatly or Minor Figures — froths and pours closest to whole dairy milk. Soy can work well too, but it’s more temperature-sensitive and can curdle if your espresso is very acidic. Almond and coconut milks are trickier because they’re thinner and produce larger, less stable bubbles. Our guide to choosing the best milk for latte art covers this in much more detail.
How hot should my milk be?
Aim for roughly 55–65 °C (130–150 °F). Once milk climbs above about 70 °C, the proteins break down and you lose that silky, micro-foam texture — the milk starts to taste scorched, too. A good rule of thumb: if the bottom of the pitcher feels too hot to hold comfortably, you’ve gone too far. For the full technique, check out how to steam and texture milk perfectly.
Technique & Practice
Why does my milk look bubbly instead of glossy?
Big, visible bubbles mean too much air was introduced, usually because the steam tip stayed at or above the surface for too long. You want just a brief “kiss” of air in the first couple of seconds — a faint chirping sound — then you submerge the tip to spin and polish the milk into a smooth, paint-like consistency. If you’re running into this regularly, the troubleshooting guide walks through fixes step by step.
How long does it take to learn a basic heart pour?
Most people can produce a recognizable heart within one to three weeks of daily practice. That might mean one or two drinks a morning. Rosettas and tulips usually take longer because they demand finer control of flow rate and pitcher movement. Be patient with yourself — even professional baristas spent months refining their pours. The pour patterns tutorial gives you a progression path from hearts to more advanced designs.
Can I practise without wasting espresso?
Yes! A common trick is to mix a small amount of instant coffee or soy sauce into warm water to simulate the colour and crema-like surface of espresso. It won’t taste great, but it lets you practise your pour mechanics without burning through coffee beans.
Hopefully that clears up a few of the roadblocks between you and better pours. If you’re just beginning your latte art journey, the getting started guide is a great next step — it ties together equipment, milk prep, and first pours into one clear path. Now go steam some milk and have fun with it.