Milk Pitchers, Cups, and Accessories Guide
Your espresso can be dialled in perfectly, your milk can be steamed to velvety perfection — and your latte art can still fall flat if you’re pouring from the wrong pitcher into the wrong cup. Think of it like painting: even a skilled artist needs the right brush and canvas. Here’s the thing — the gear surrounding your espresso machine matters more than most beginners expect, and the good news is that it doesn’t have to be expensive.
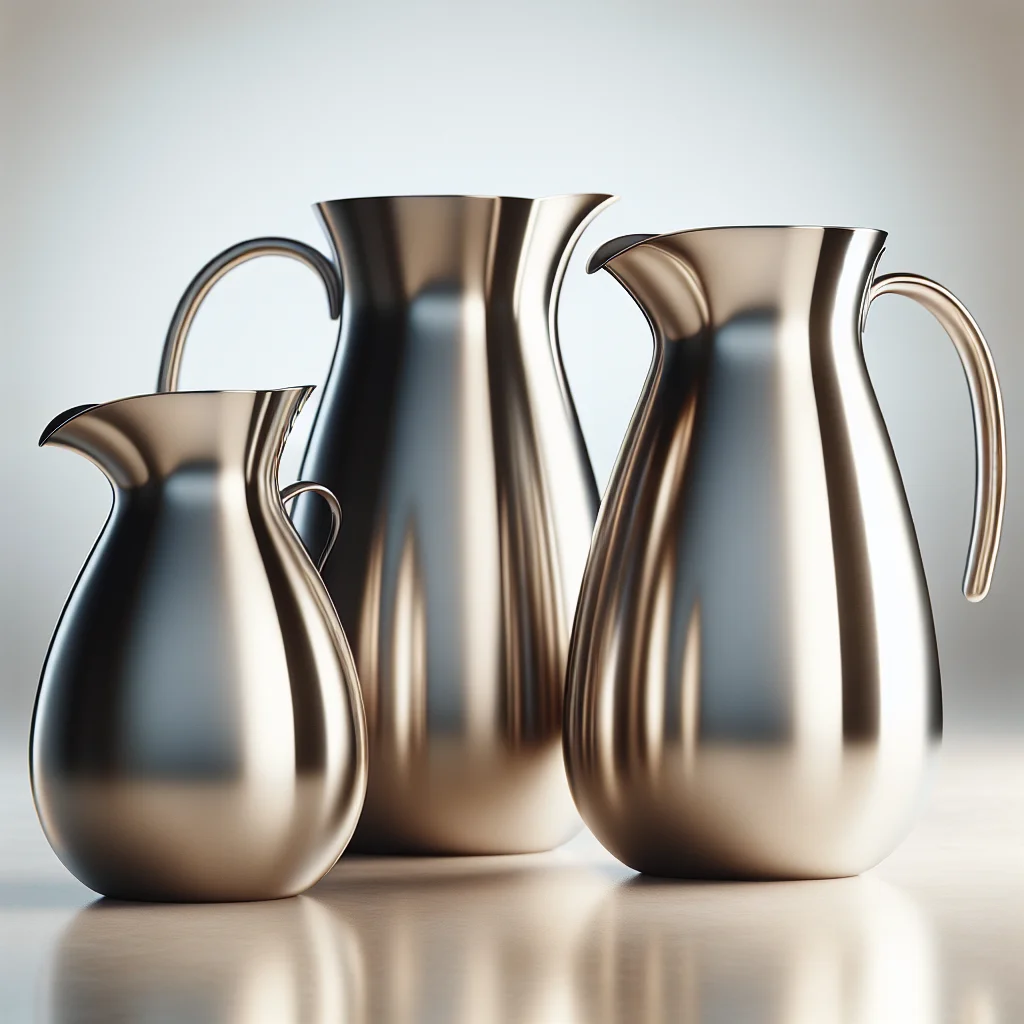
Choosing a Milk Pitcher
The milk pitcher (sometimes called a milk jug or frothing pitcher) is your primary latte art tool. Three things matter most: size, spout shape, and material.
Size
For a single latte — typically around 150–180 ml of steamed milk — a 350 ml (12 oz) pitcher is the sweet spot. You want the pitcher roughly half-full of cold milk before steaming, because the milk needs room to expand and spin. If you regularly make two drinks back to back, a 600 ml (20 oz) pitcher gives you flexibility, but keep in mind that a pitcher that’s too large makes it harder to control thin, precise pours.
Spout Shape
This is where things get interesting. Pitchers generally come with one of three spout profiles:
- Classic round spout — Forgiving and versatile. Great for hearts and basic tulips. Most pitchers that ship with home espresso machines have this shape.
- Sharp or pointed spout — Produces a thinner stream, which gives you more control over fine details like rosetta leaves. Once you’ve got the basics down, a sharp-spout pitcher can really open up your pattern options.
- Tulip-shaped (slightly curved) spout — A middle ground that handles both wide pushes and narrower detail work.
No single spout is “best.” Many experienced home baristas keep two pitchers around and reach for whichever suits the pattern they’re practising.
Material
Stainless steel is the standard, and for good reason — it’s durable, easy to clean, and conducts heat so your hand can gauge milk temperature as you steam. Think of the pitcher like a saucepan: you want to feel the warmth building through the walls. When the outside becomes almost too hot to hold comfortably, the milk inside is usually in the 55–65 °C (130–150 °F) sweet spot. Coated or painted pitchers look nice but can mask that thermal feedback, so they’re better suited once you’re confident judging temperature by sight and sound.
Picking the Right Cup
A gorgeous rosetta poured into a tall, narrow mug will look like a squished afterthought. Latte art wants a wide, rounded bowl shape — the kind of cup you see in cafés with a gentle curve from the rim down to the base. A capacity of roughly 180–240 ml (6–8 oz) is ideal for a single-shot latte.
Ceramic cups with a smooth, light-coloured interior give you the best contrast against the espresso crema canvas. The wider the opening relative to the cup’s depth, the more room your milk has to spread and form patterns.
Helpful Accessories
You don’t need much beyond a good pitcher and cup, but a few extras can accelerate your progress:
- Thermometer or temperature sticker — Clips onto your pitcher and takes the guesswork out of milk steaming while you develop your instincts. Handy if your machine’s steam wand is unpredictable.
- Art pen or etching needle — A thin, food-safe pick used to drag fine details into foam after pouring. Not essential for free-pour art, but fun for experimenting with etched designs.
- Kitchen scale — Useful for dosing consistent espresso shots, which means consistent crema, which means a more predictable canvas every time you pour.
Wrapping Up
The right pitcher and cup won’t magically turn you into a latte art champion, but they remove unnecessary obstacles between your hands and a beautiful pour. Start with a 350 ml stainless steel pitcher in a spout shape that feels comfortable, pair it with a wide ceramic cup, and let practice do the rest. For more on dialling in your milk texture, head over to our milk steaming guide, or if you’re still picking an espresso machine, check out the home espresso machine comparison chart. Happy pouring.