Getting Started with Latte Art
So you’ve been pulling decent espresso at home, and now you’re staring at your cup thinking, “Why doesn’t this look like the ones on Instagram?” Good news: latte art is absolutely a learnable skill, and you don’t need barista-championship-level talent to pour a beautiful design into your morning coffee. You just need the right foundation. Here’s the thing — most people skip straight to pouring and wonder why they get a blobby mess. Let’s make sure that doesn’t happen to you.
What You Actually Need Before You Start
Latte art comes down to two ingredients: well-prepared espresso and properly textured milk. That’s it. But the tools you use to get there make a real difference in how steep your learning curve feels.
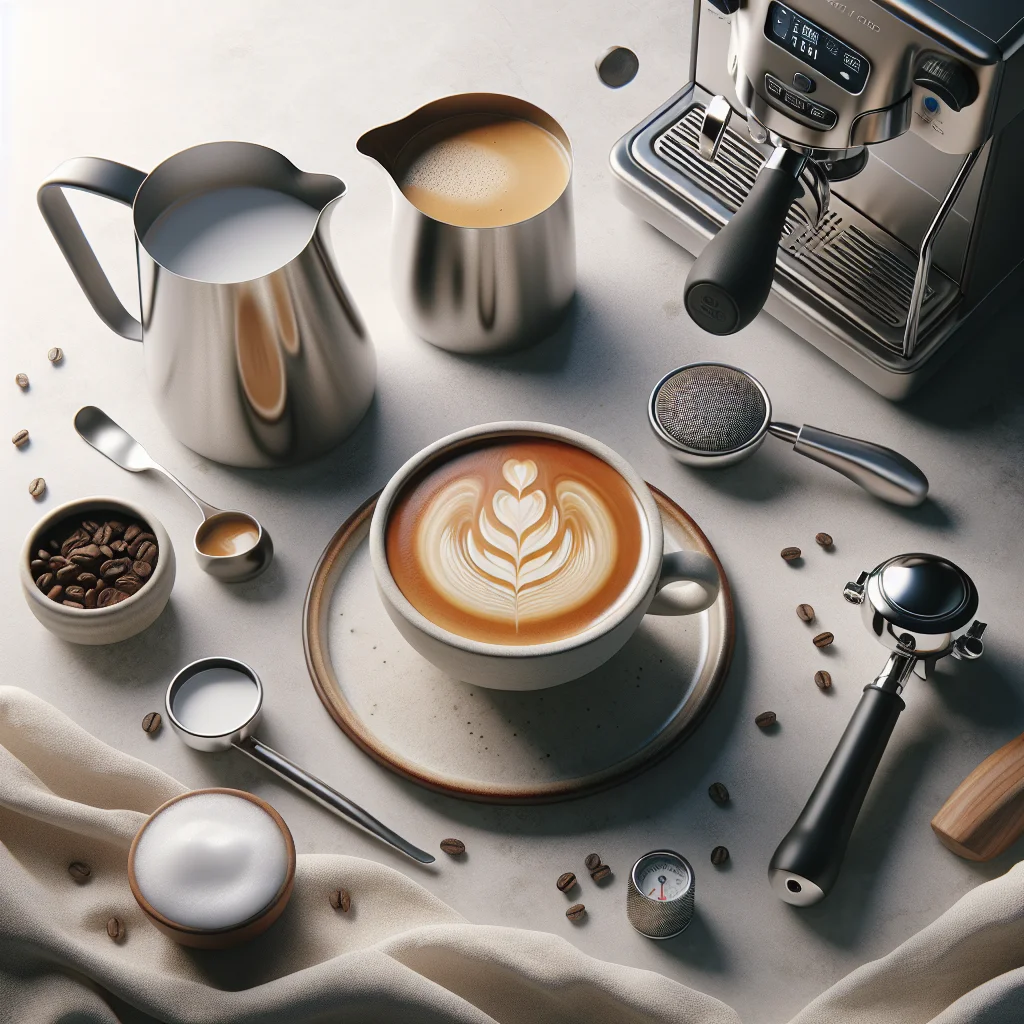
At minimum, you’ll want:
- An espresso machine with a steam wand. It doesn’t need to be expensive, but it does need to produce enough steam pressure to texture milk properly. A machine with a panarello wand (those plastic sleeves that add extra froth) can work, though many beginners find removing the sleeve gives better control. Our home espresso machine comparison chart breaks down what to look for at different budgets.
- A stainless steel milk pitcher (also called a frothing jug). A 12 oz (350 ml) pitcher is a great starting size for a single latte. The spout shape matters more than you’d think — a pointed spout gives you finer control over your pour. More on that in the pitchers and accessories guide.
- A wide-brimmed cup. A flat-bottomed, rounded cup gives your milk a bigger canvas and helps designs spread evenly. A standard 8–12 oz ceramic latte cup or cappuccino cup works perfectly.
Think of it like baking: you can make bread with your hands and an oven, but a decent mixing bowl and bench scraper make the process a whole lot smoother.
The Two Skills That Matter Most
Every stunning latte art pour rests on two pillars: pulling a good shot of espresso and steaming milk to a microfoam texture. Get these two right, and the actual pouring part becomes surprisingly intuitive.
Espresso with Good Crema
Your espresso doesn’t need to be world-class, but it does need a layer of crema — that golden-brown, slightly thick layer sitting on top of a freshly pulled shot. Crema acts like a canvas. Without it, your milk sinks straight through and you lose all definition. If your shots look pale, watery, or the crema disappears within seconds, focus on dialling in your grind size and dose before worrying about art.
Silky, Glossy Microfoam
Now, this is the big one. Microfoam is steamed milk with tiny, uniform bubbles so small you can barely see them — the surface should look like wet white paint, not bubble bath. Think of your milk pitcher like a saucepan: you want to heat the milk just until it whispers, not screams. Overheated milk breaks down, loses sweetness, and produces coarse bubbles that won’t hold a pattern.
The full technique — where to position the wand tip, how to create a vortex, when to stop — is covered step by step in our milk steaming guide. It’s the single most important page on this site if you’re just starting out.
Your First Pour: The Monk’s Head
Before you attempt hearts or rosettas, aim for what baristas sometimes call a monk’s head — a simple white circle floating in the centre of your cup. It’s the most basic free-pour shape, and it teaches you the two fundamental motions: pouring high to mix the milk into the espresso, then dropping low and tilting the cup to let the foam flow onto the surface.
Once you’ve got that down, you’re genuinely ready for a heart — which is just a monk’s head with a single stroke pulled through the centre. From there, rosettas and tulips build on the same core movements. Our pour patterns tutorial walks you through each design in order.
Wrapping Up
Starting latte art at home really comes down to this: get your milk texture right, pull a shot with decent crema, and practise the basic pour before chasing complex designs. If something isn’t clicking, the troubleshooting guide covers every common issue from bubbly foam to designs that sink. Be patient with yourself — even experienced baristas practise daily. Your tenth pour will look noticeably better than your first, and that progress is the fun part.